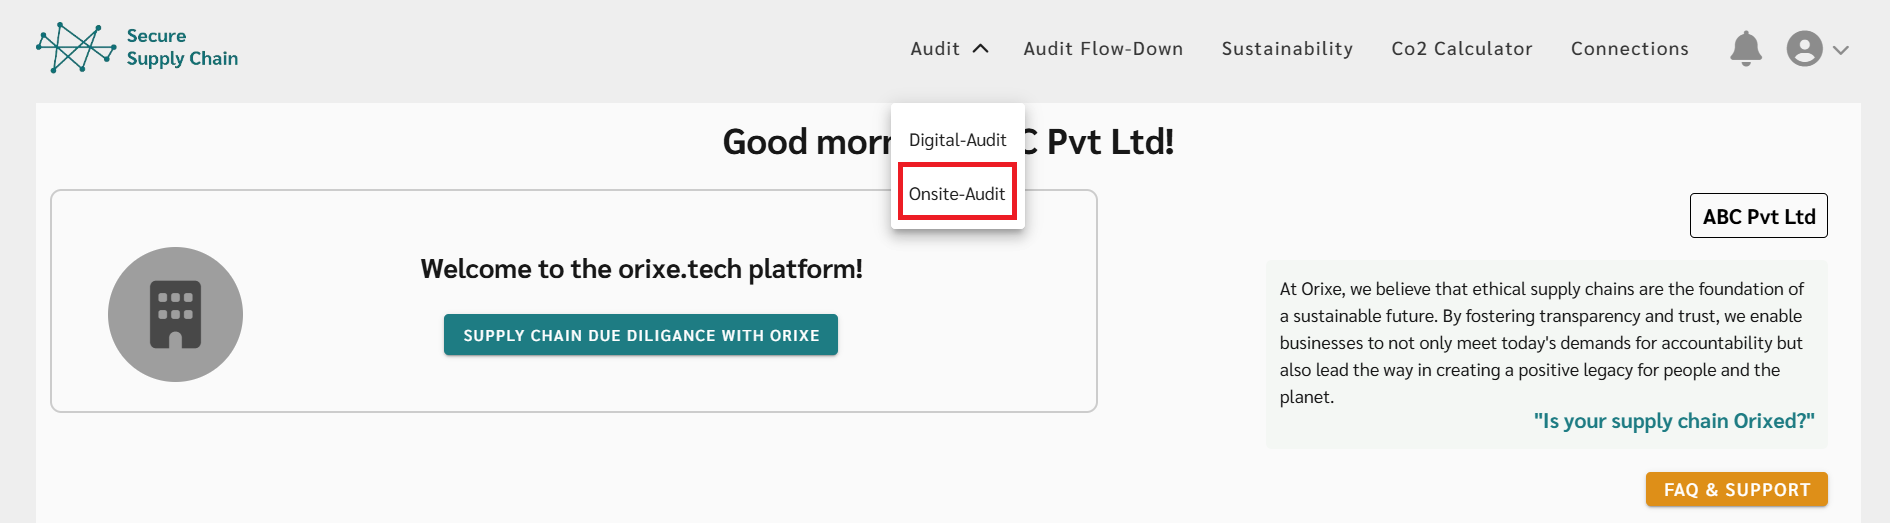
Roles in On-site Audit

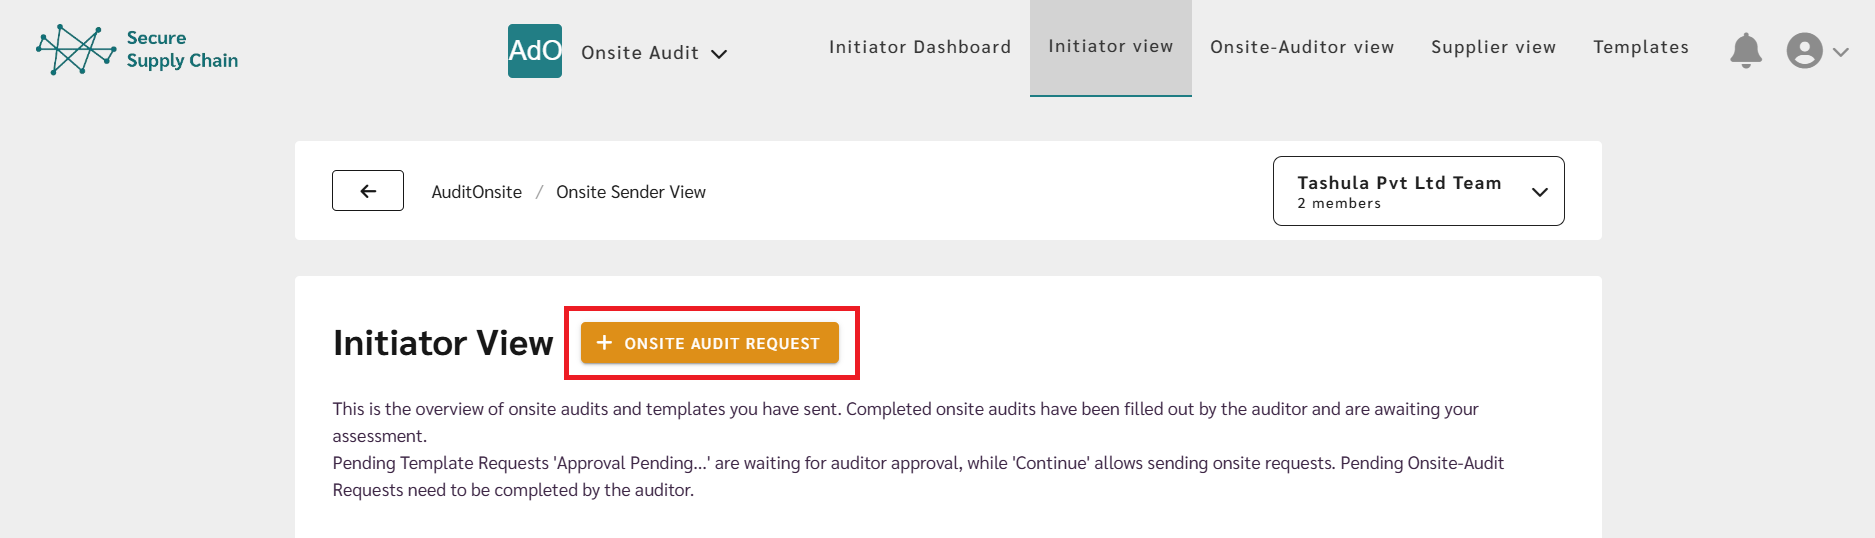
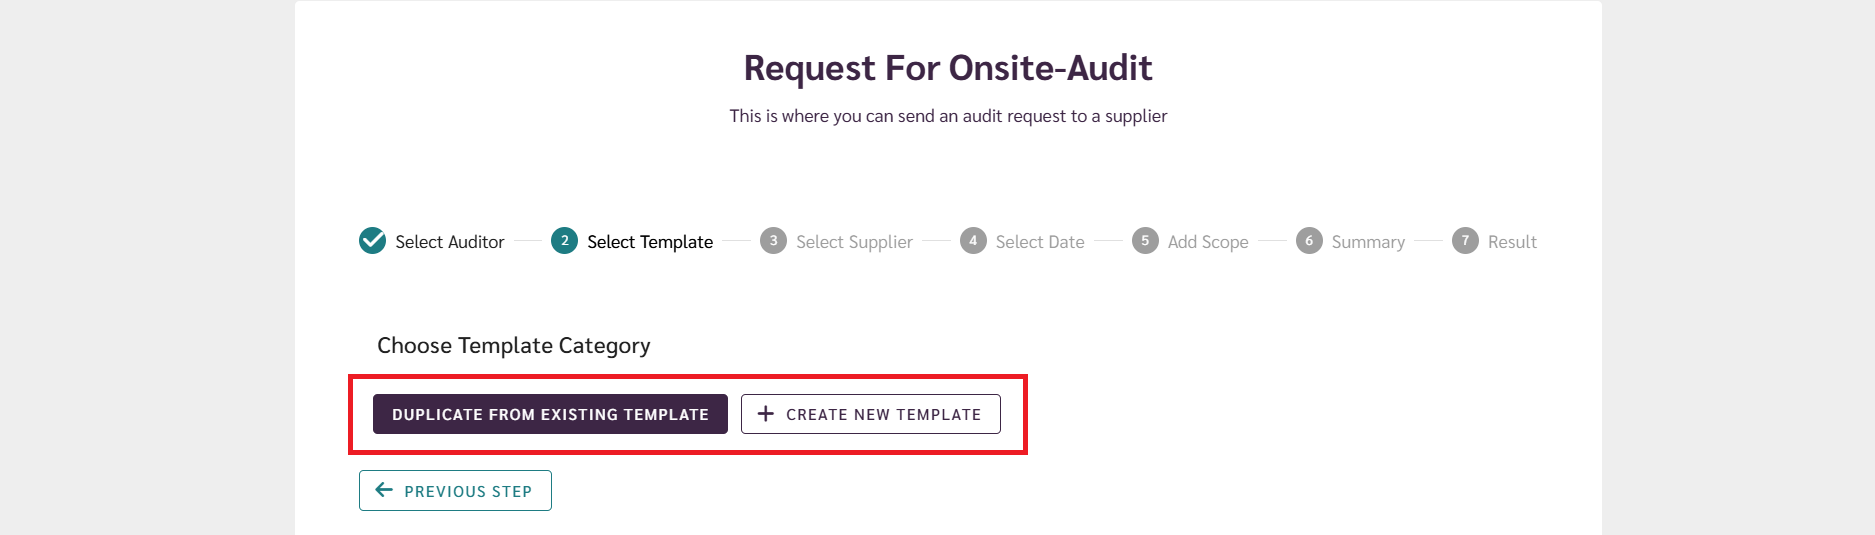
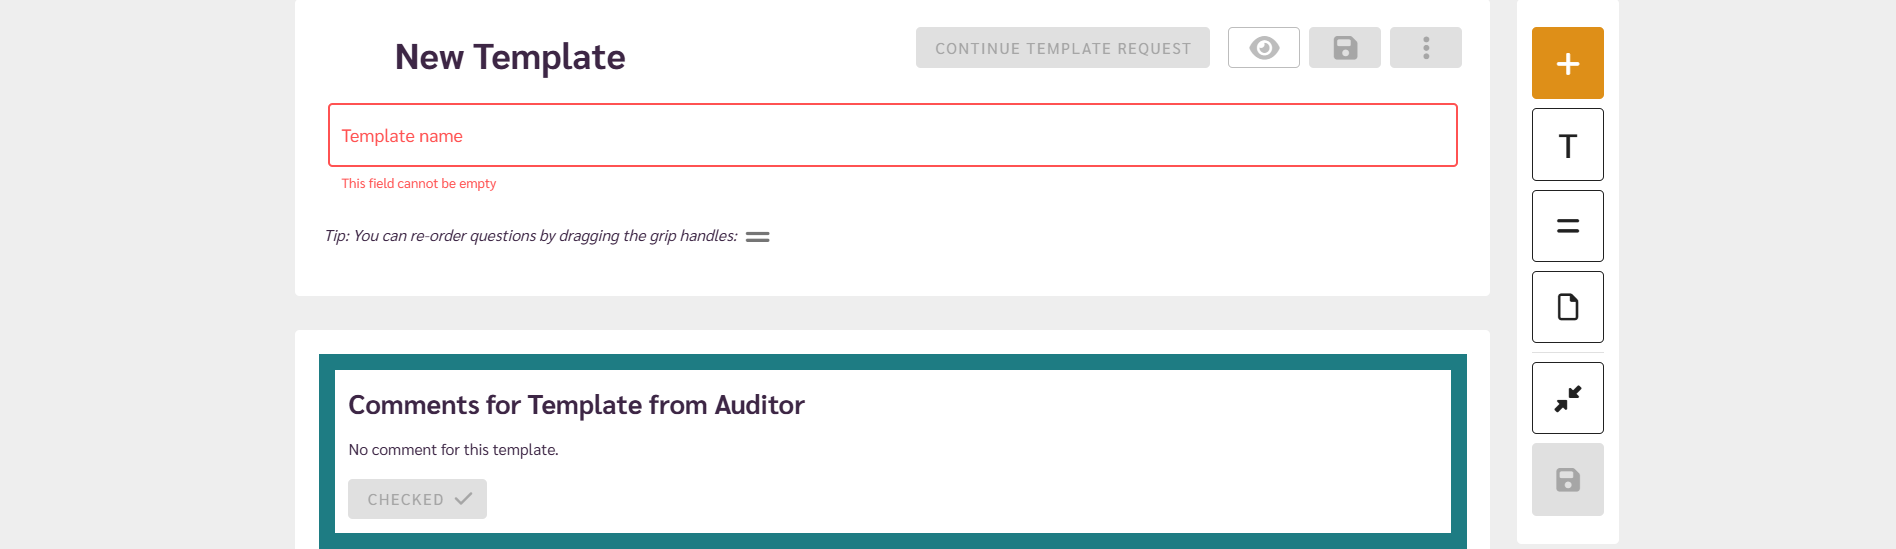
Initiator
The initiator is the person from a company who wants to audit their supplier. The initiator is responsible for creating audit templates, sending them for approval, assigning auditors, and tracking the entire audit process until completion.
Required Role:
- On-site Audit Initiator
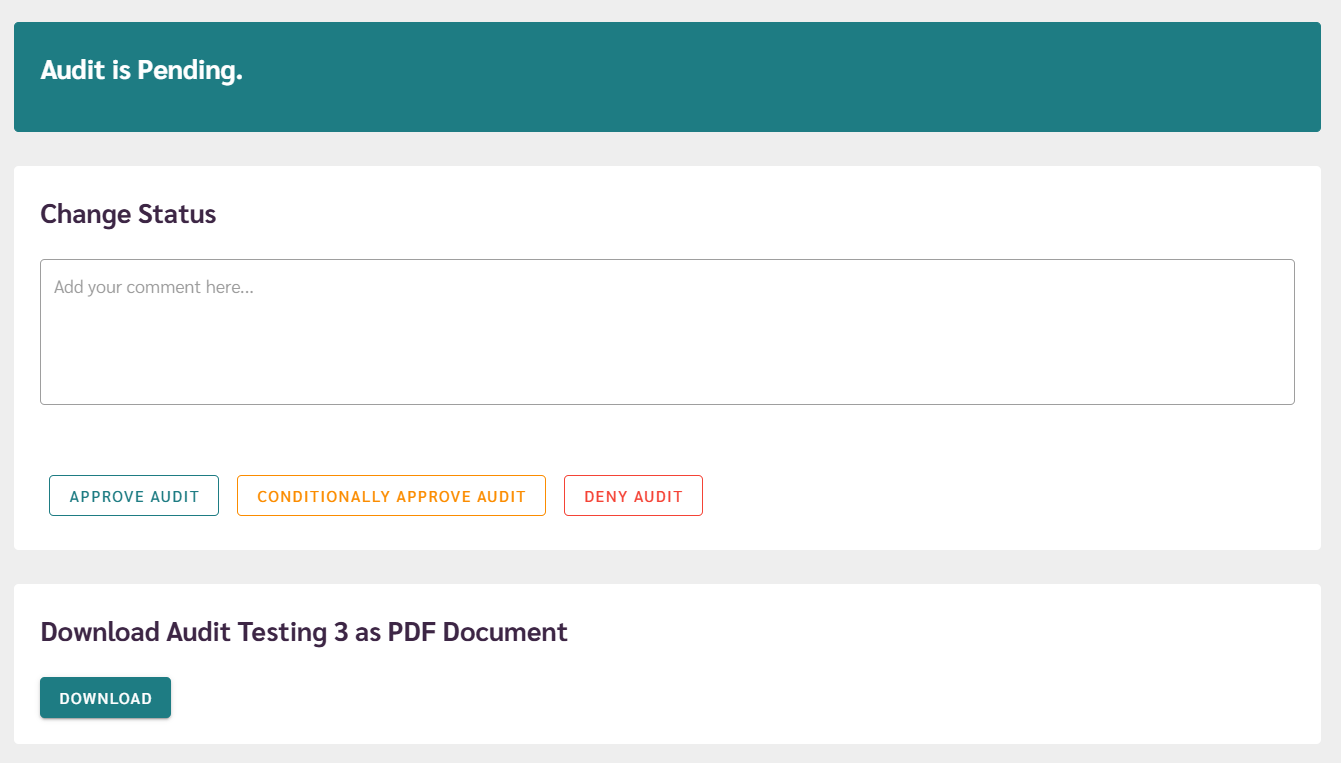
- Audit Approver
Tabs They Work In:
- Initiator Dashboard
(For the initiator to track and manage all audits from initiation to completion) - Initiator View
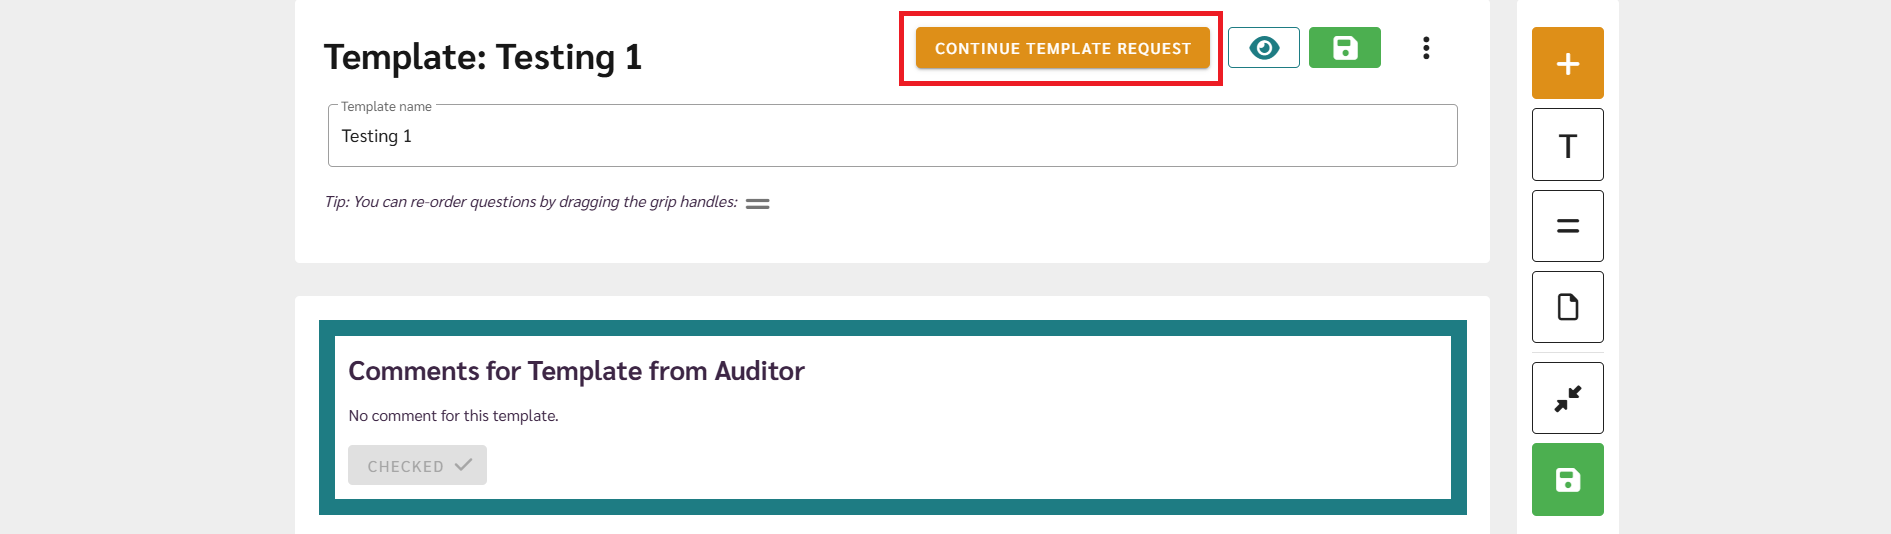
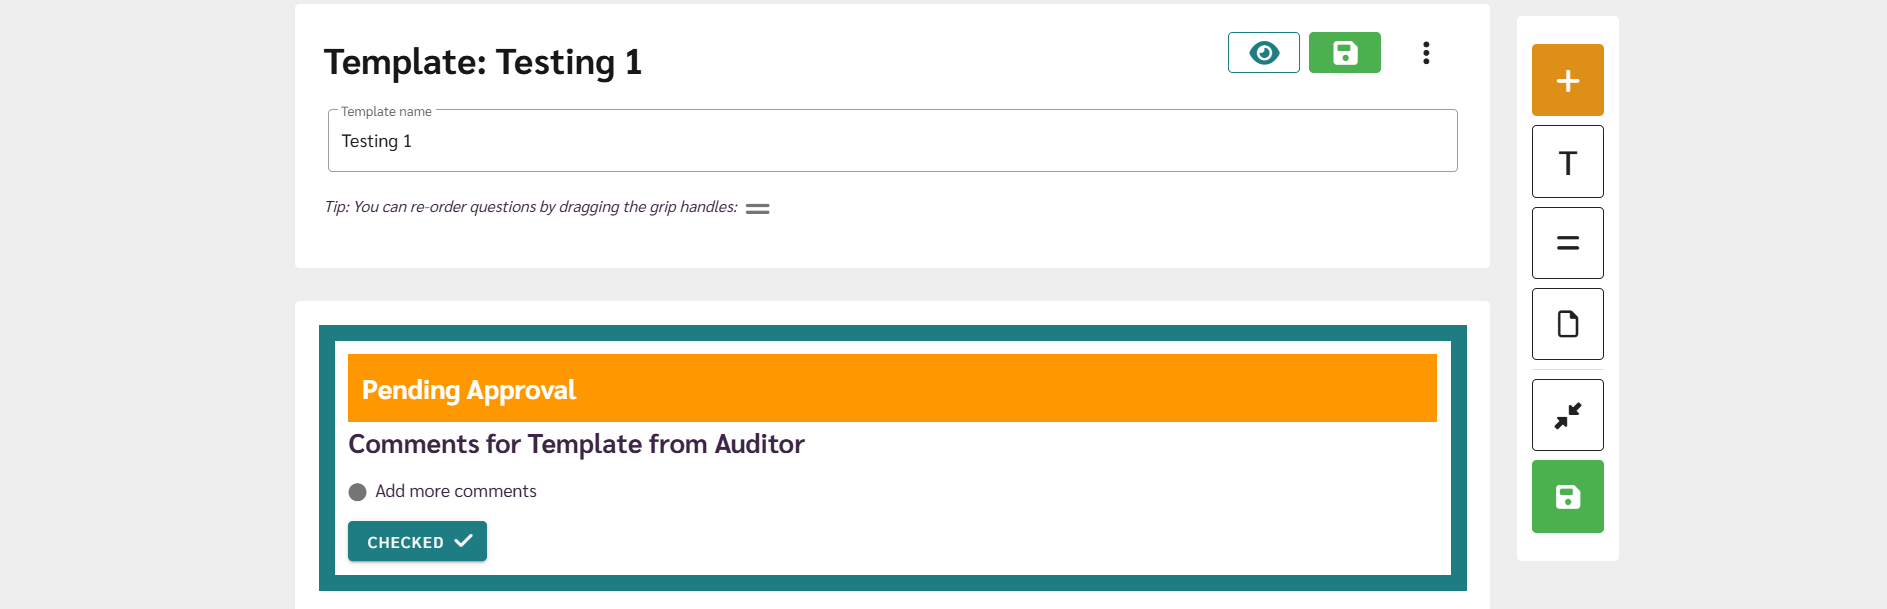
(Stores all audits) - Templates Tab
(To create, edit, and manage templates)

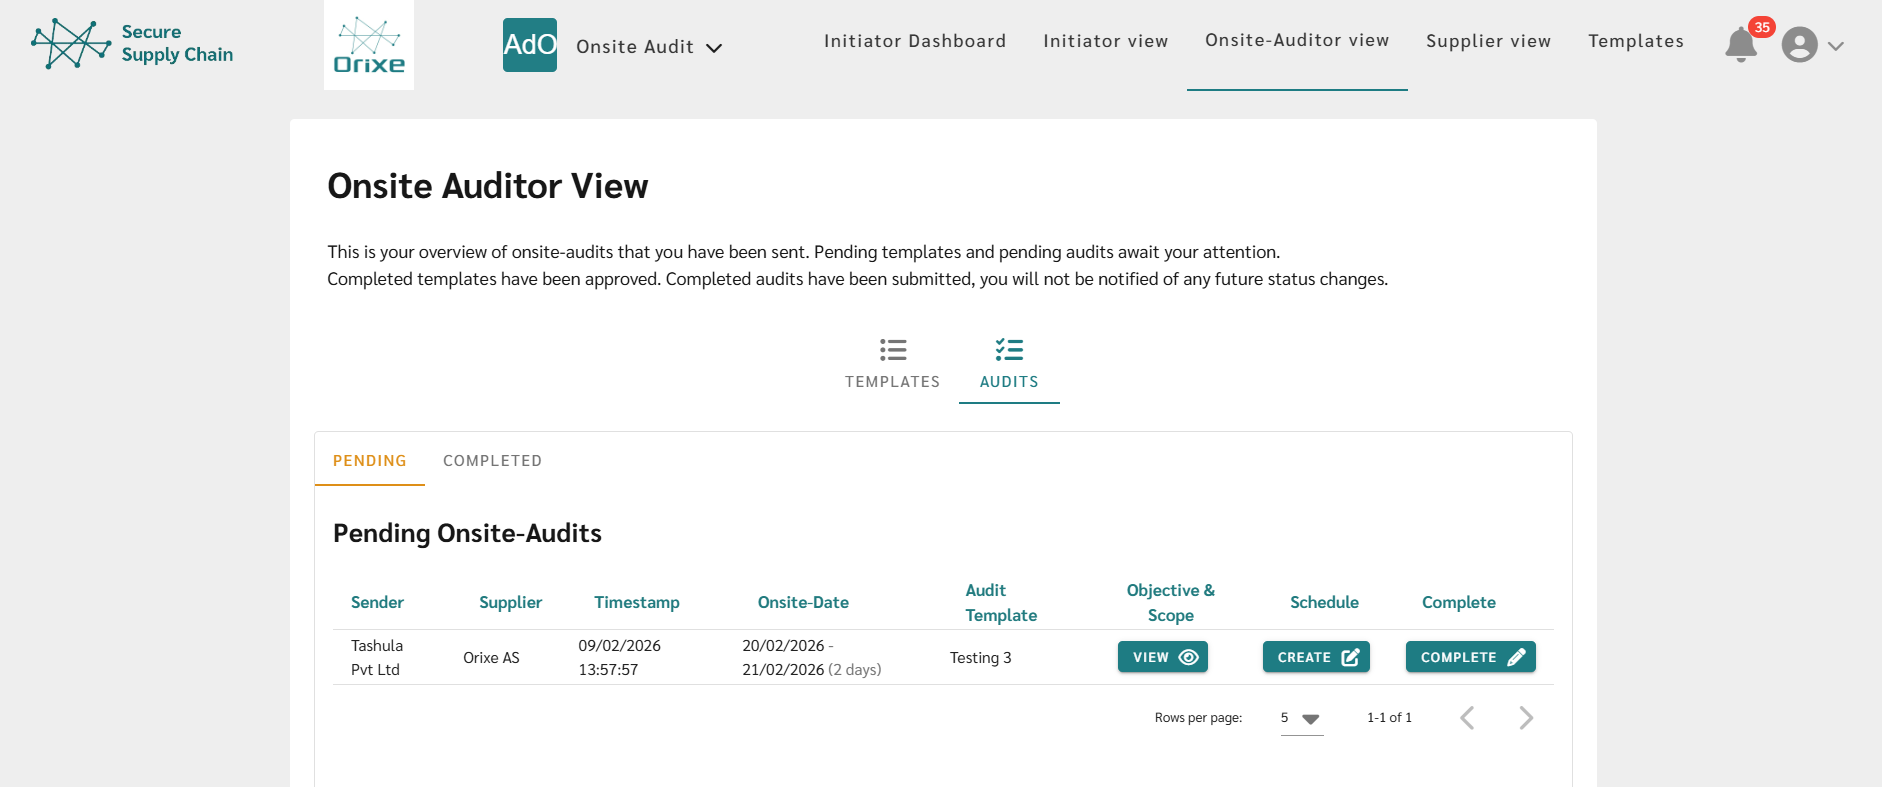
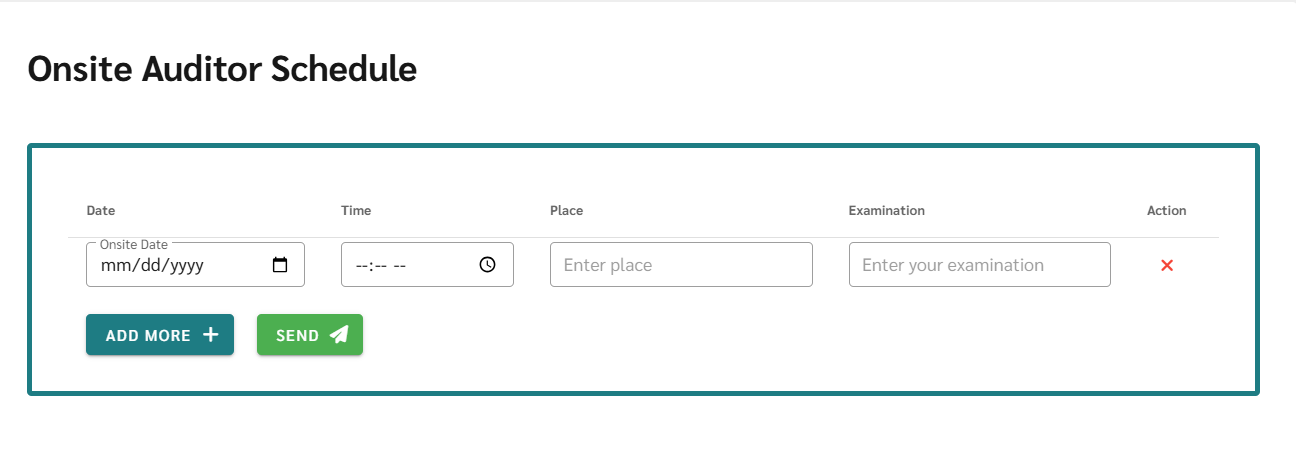
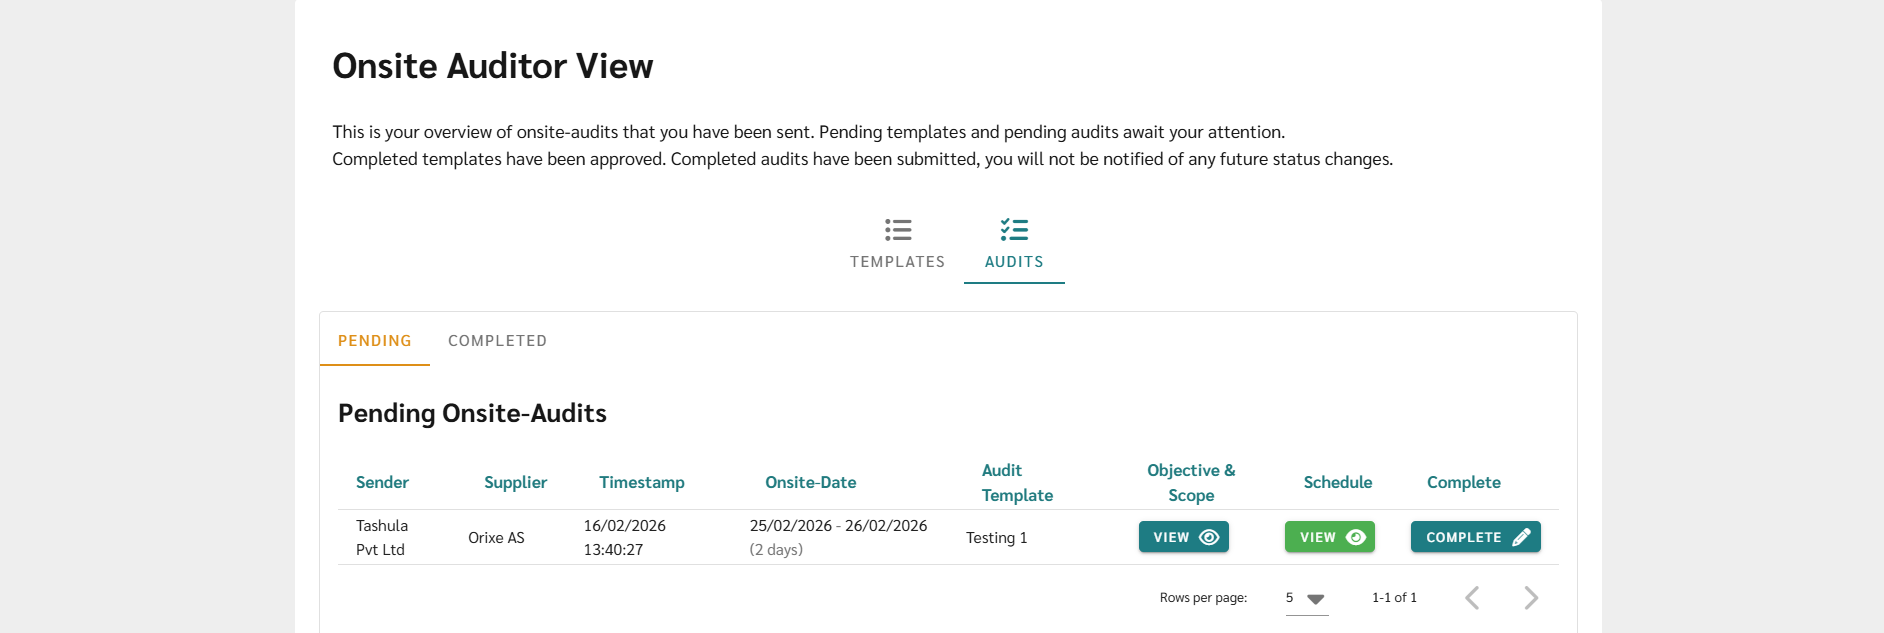
on-site auditor
The auditor can either be internal (from the initiator’s company) or external (from another company). Auditors are responsible for reviewing and approving audit templates, scheduling and performing audits, and filling in audit results.
Required Role:
- On-site Auditor
Tabs They Work In:
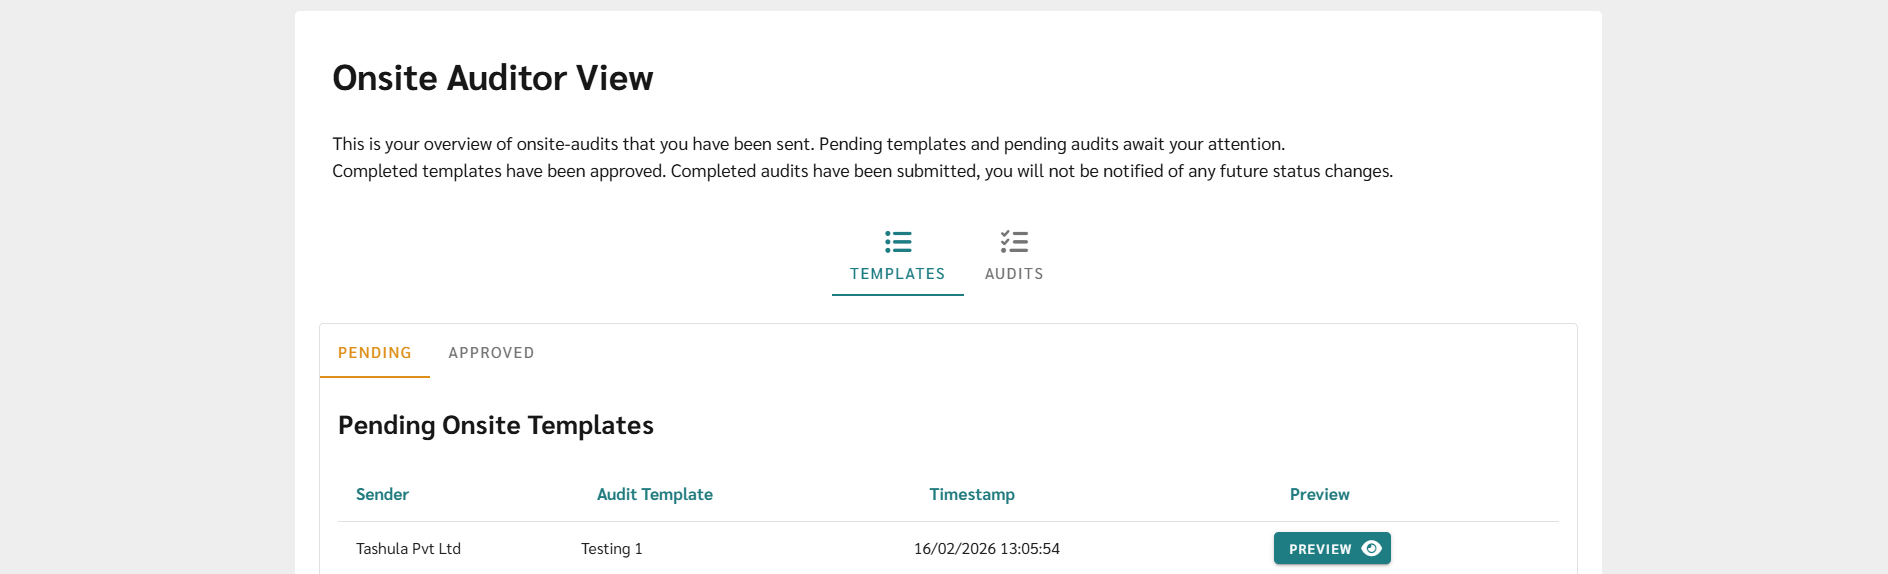
- On-site Auditor View

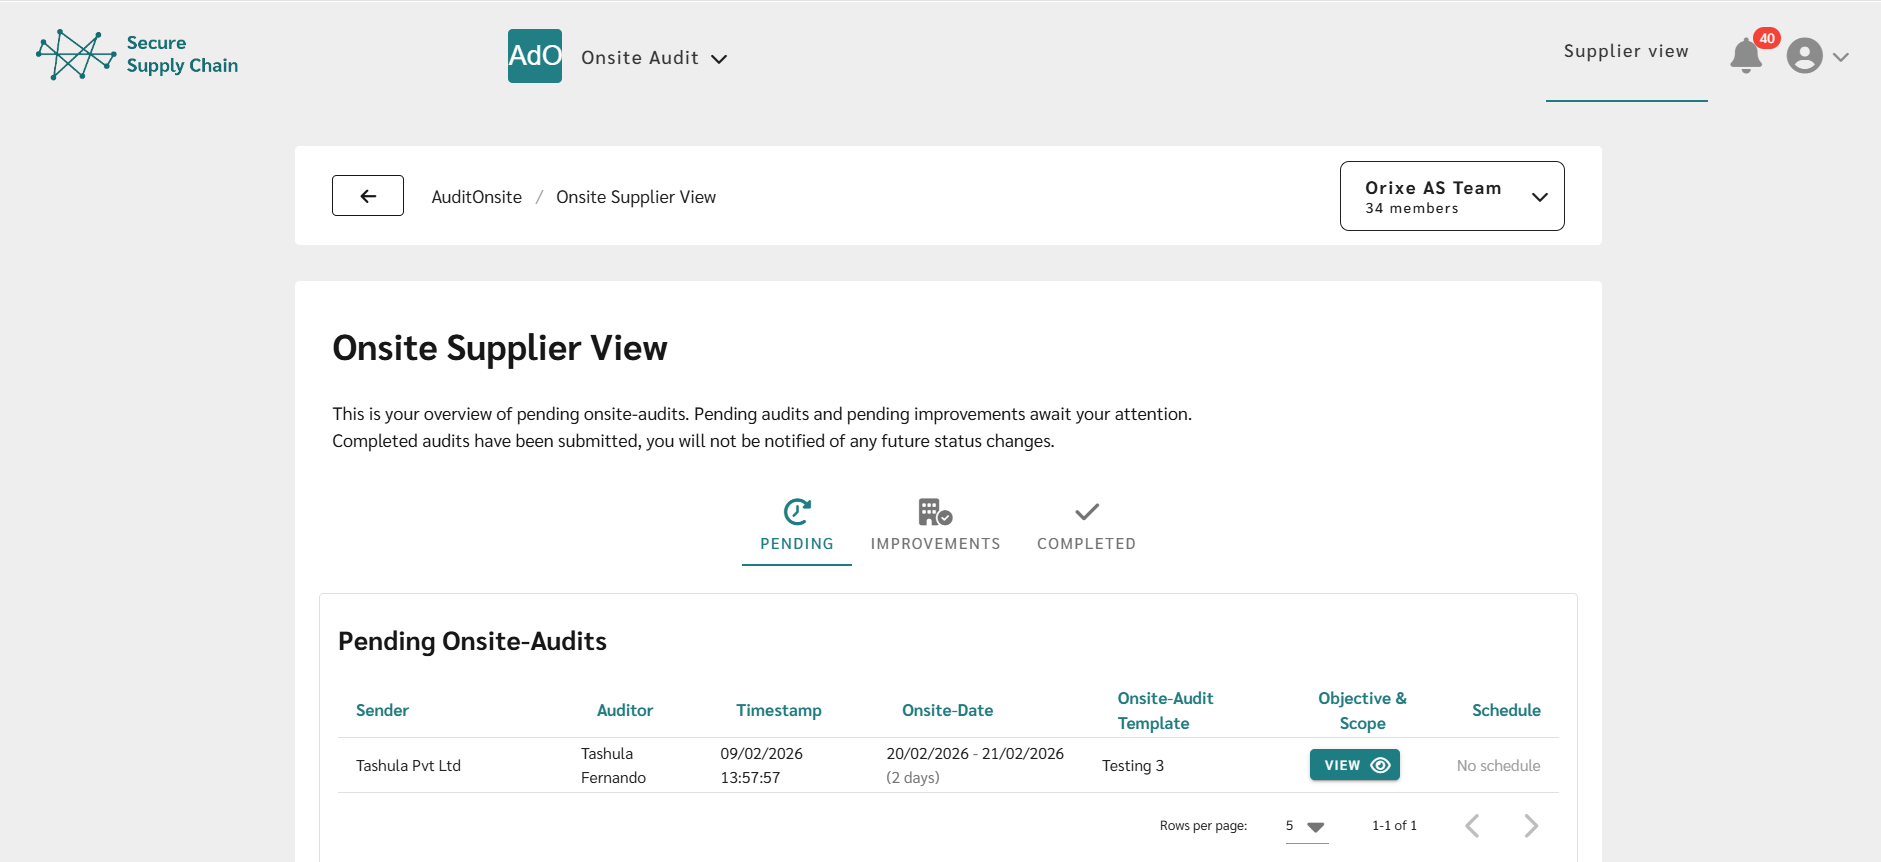
supplier
The supplier is the company being audited. Their role is to provide the necessary information and evidence for the audit and to act on non-conformities and improvements identified during the audit process.
* No specific platform role required.
Tabs They Work In:
- Supplier View